Guide
How to Make Authentic Singapore Hawker-Style Beancurd (Tau Huay)
Recreating the delicate, melt-in-your-mouth texture of traditional Singaporean beancurd at home is a rewarding culinary skill. This guide provides the exact ratios and techniques needed to transform humble soybeans into a professional-grade dessert using standard kitchen equipment.
Understanding the Name and Nature
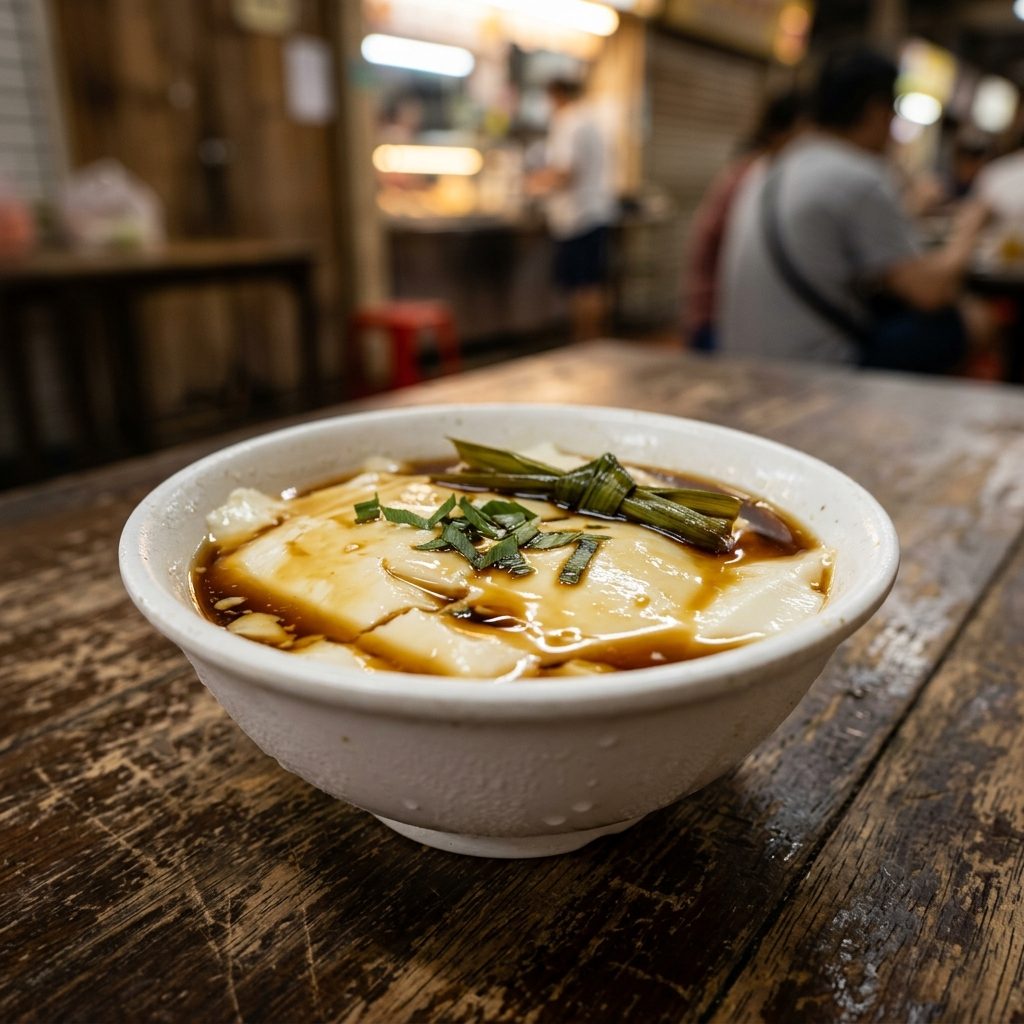
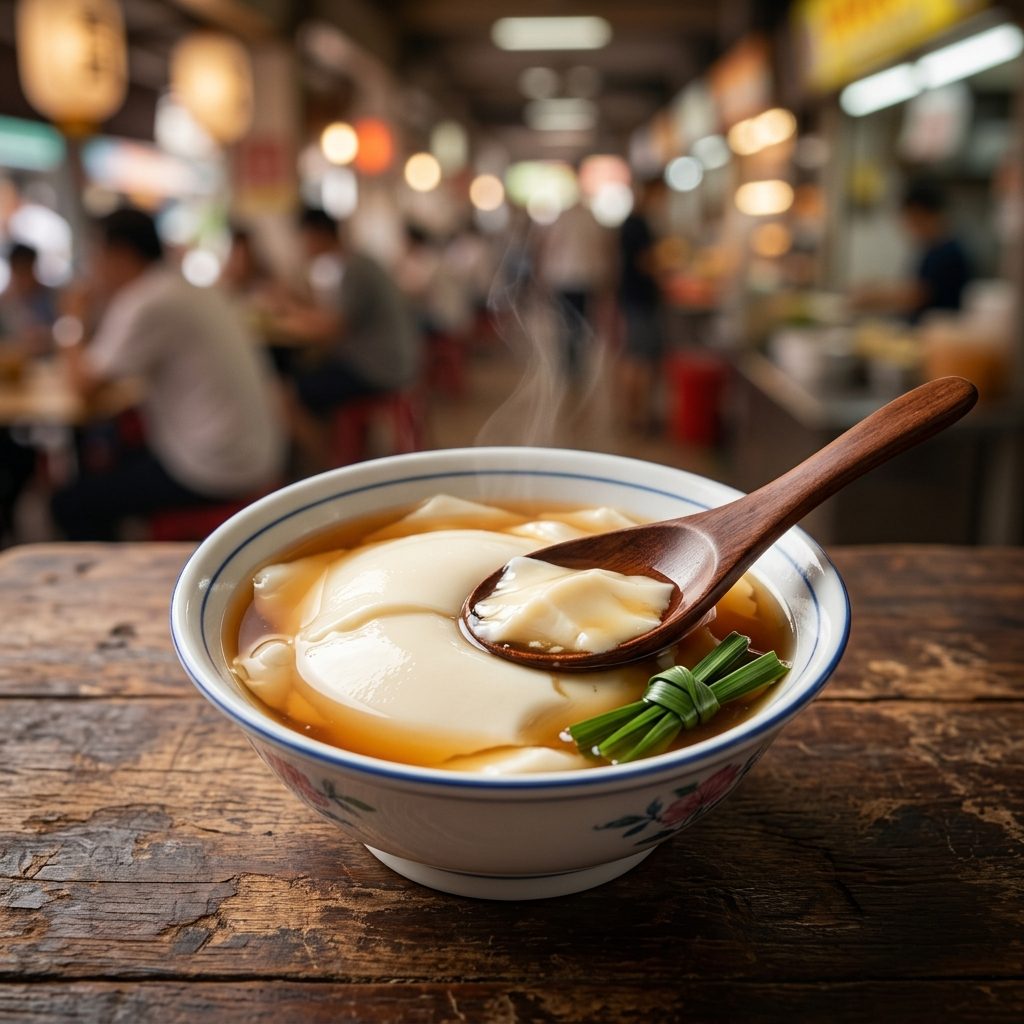
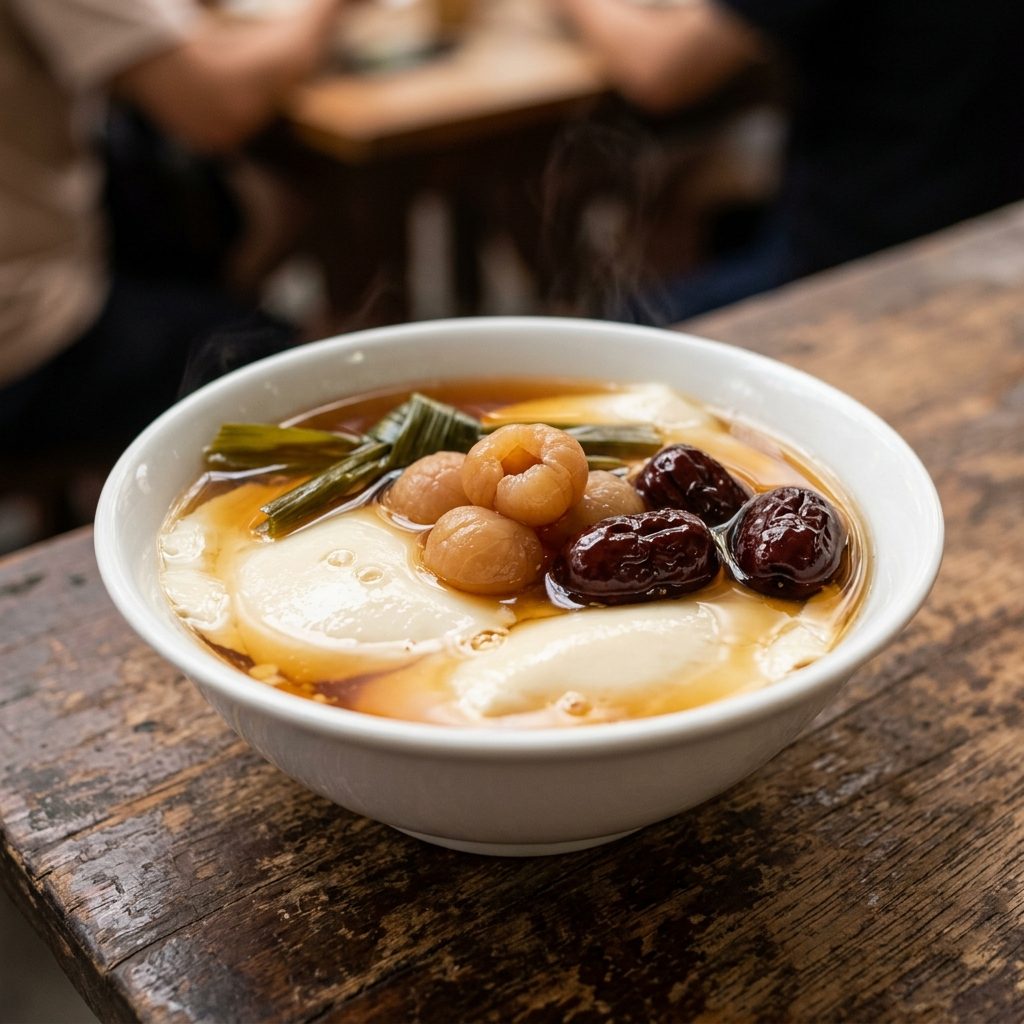
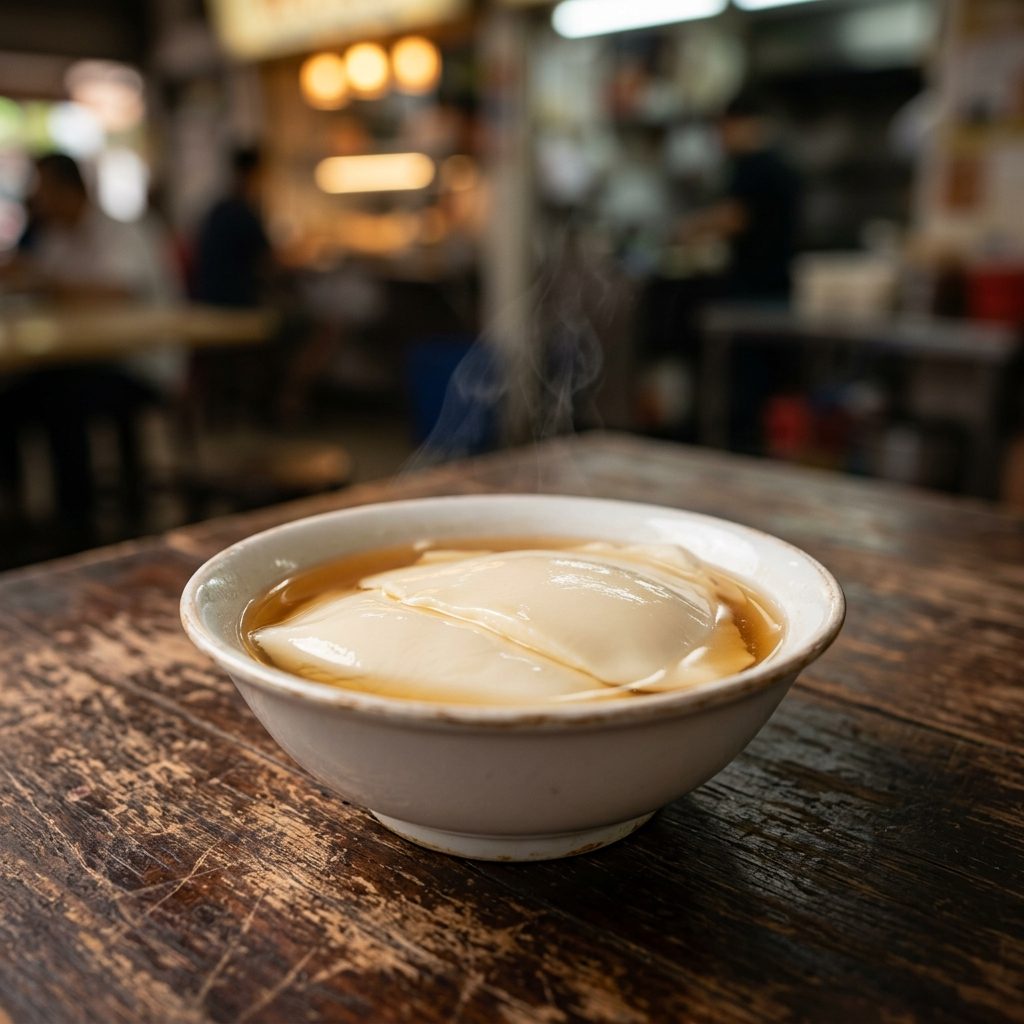
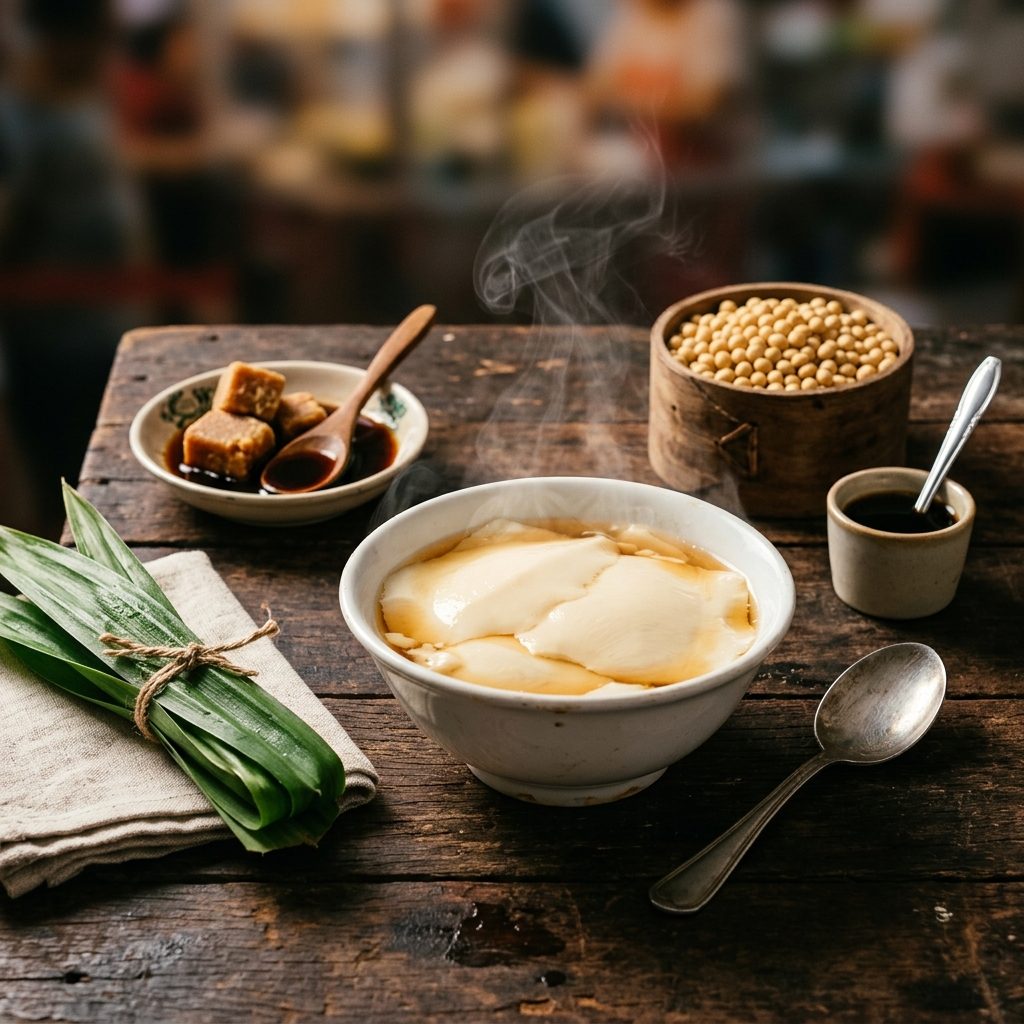
In Singapore, this beloved dessert is known by its Hokkien name, Tau Huay (豆花), which literally translates to 'Bean Flower.' This poetic name describes the delicate, curd-like texture that should be as light and fragile as a petal. Achieving this requires precise control over the soybean solids and the chemical reaction of the coagulant.
Phase 1: Soaking and Preparation
Start with 250g of high-quality dried non-GMO soybeans. Rinse them thoroughly until the water runs clear. Soak the beans in at least 1 liter of water for 8 to 12 hours. For the best texture, soak them overnight in the refrigerator to prevent fermentation. Once soaked, the beans should have doubled in size and the skins should slip off easily. Rubbing the beans between your palms to remove the skins will result in a whiter, cleaner-tasting beancurd, though this is optional.
Phase 2: Blending and Extraction
Drain the soaking water and discard it. Place the soaked beans into a high-speed blender. Add 1.5 liters of fresh room-temperature water (this is your crucial 1:6 ratio for a rich, hawker-style body). Blend on high for 2 minutes until the mixture looks like a thick, frothy milkshake with no large grit remaining.
Phase 3: Straining the Soya Milk
To achieve a silken finish, you must remove all insoluble fiber (okara). Drape a fine muslin cloth or a nut milk bag over a large pot. Pour the blended mixture through the cloth. Squeeze the bag firmly with clean hands to extract every drop of milk. For an even smoother result, pass the extracted milk through a fine-mesh sieve one final time into a heavy-bottomed pot.
Phase 4: The Boiling Process
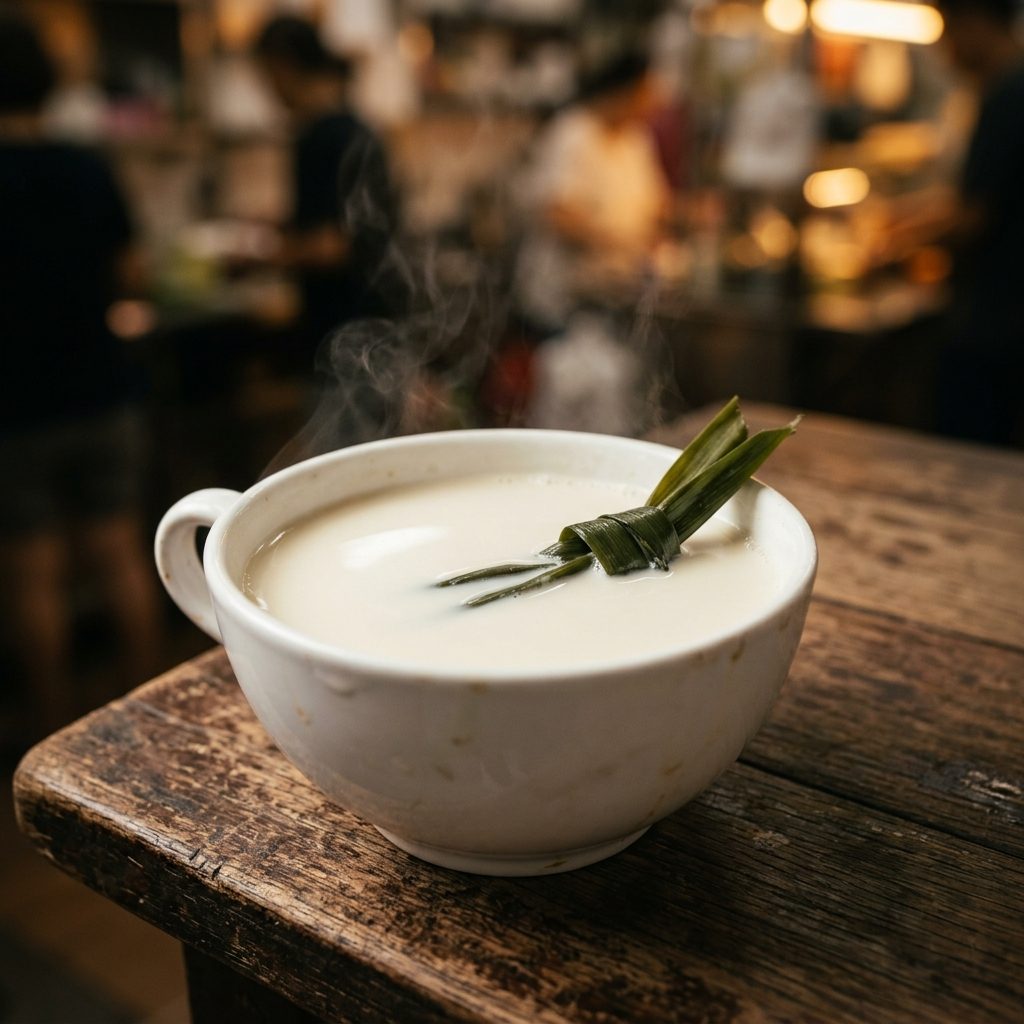
Bring the soya milk to a gentle boil over medium heat. You must stir constantly with a wooden spatula to prevent the bottom from scorching. As it reaches a boil, a thick foam will rise; skim this off carefully. Once it reaches a rolling boil, reduce the heat to low and simmer for 10 minutes to cook out the 'beany' raw taste. Turn off the heat and let the milk cool slightly to approximately 80°C (176°F)—this is the optimal temperature for the coagulant to work.
Phase 5: Coagulation and the 'Crash' Pour
In a deep, heat-proof ceramic or plastic container, prepare the coagulant slurry: mix 1 teaspoon of food-grade gypsum (Calcium Sulfate/Sek Bo) and 1 teaspoon of cornstarch with 2 tablespoons of room-temperature water. Stir the slurry to ensure no clumps remain. Give the soy milk one last stir, then, holding the pot about 12 inches above the container, pour the milk in one swift, continuous motion into the slurry. The force of the pour (the 'crash') ensures the coagulant is distributed without stirring. Immediately cover the container with a clean cloth to catch condensation and put the lid on. Let it sit undisturbed for 30 to 45 minutes until set.